
3: Forms and Events
All apps need to allow the user to perform some types of interaction with the data that is stored. In our case, the first type of interaction is to insert new tasks, or our app would not have much value, would it?
One of the main ways in which a user can insert or edit data in a website is through forms, in most cases it is a good idea to use the <form> tag since it gives semantic meaning to the elements inside it.
3.1: Create Task Form
First we need to create a simple form component to encapsulate our logic.
Create a new file TaskForm.vue in your ui/components folder.
imports/ui/components/TaskForm.vue
<script setup>
import { ref } from 'vue'

const newTask = ref('')

const addTask = () => {
  console.log(newTask.value)
}
</script>

<template>
    <form @submit.prevent="addTask">
        <input
            v-model="newTask"
            class=" border border-gray-300 rounded-md py-2 px-4 mr-2 text-gray-600 text-sm focus:outline-none focus:border-gray-400 focus:ring-0"
            type="text" placeholder="Type to add new tasks" />
        <button class="bg-blue-500 hover:bg-blue-600 text-white font-bold py-2 px-4 rounded" type="submit">Add Task</button>
    </form>
</template>
This form will have an input element added to it that has a v-model attribute. The newTask data field will now be bound via two-way binding to the input element’s value.
You can also see that the form element has a @submit.prevent attribute that will call the addTask method when the form is submitted. The @ is a shorthand for v-on:. The prevent modifier will prevent the default behavior of the form, which is to reload the page.
3.2: Update the App component
Then we can simply add this to our App component above your list of tasks:
imports/ui/App.vue
<script setup>
import Task from './components/Task.vue'
import TaskForm from './components/TaskForm.vue';
import { subscribe, autorun } from 'vue-meteor-tracker'
import { TasksCollection } from '../db/TasksCollection'

subscribe('tasks')
const tasks = autorun(() => TasksCollection.find({}).fetch()).result
</script>

<template>
  <div class="container">
    <header>
      <h1 class="text-4xl font-bold text-gray-800 my-4">Todo List</h1>
    </header>
    <TaskForm />
    <ul class="list-disc list-inside p-4">
      <Task v-for="task of tasks" :key="task._id" :task="task" />
    </ul>
  </div>
</template>
3.3: Add Insert Operation
Now you can edit the addTask function to insert a new task into the database. To do it, we will need to implement Methods.
Methods are basically RPC calls to the server, that allow you to execute some operation on the server side, in a secure way. But you can read more about Meteor Methods here.
To create your methods, you need to create a file called tasksMethods.js.
imports/api/tasksMethods.js
import { Meteor } from 'meteor/meteor';
import { check } from 'meteor/check';
import { TasksCollection } from '../db/TasksCollection';

Meteor.methods({
    'tasks.insert'(text) {
        check(text, String);

        TasksCollection.insert({
            text,
            createdAt: new Date,
            userId: this.userId,
        })
    },
});
Also, do not forget to import your methods on main.js server file.
server/main.js
import { Meteor } from 'meteor/meteor';
import { TasksCollection } from '../imports/db/TasksCollection'
import "../imports/api/tasksPublications"
import "../imports/api/tasksMethods"
Now, we need to call this method from our TaskForm.vue component.
imports/ui/components/TaskForm.vue
...
import { Meteor } from 'meteor/meteor';

const addTask = () => {
    Meteor.call('tasks.insert', newTask.value.trim())
    newTask.value = ''
}

...
Inside the event, we are adding a task to the tasks collection by calling Meteor.call(). The first argument is the name of the method we want to call, and the second argument is the text of the task we want to add. We are also trimming the text to remove any extra spaces.
3.5: Show Newest Tasks First
Now you just need to make a change which will make users happy: we need to show the newest tasks first. We can accomplish quite quickly by sorting our Mongo query.
imports/ui/App.vue
...

const tasks = autorun(() => {
  return TasksCollection.find({}, { sort: { createdAt: -1 } }).fetch();
}).result;

...
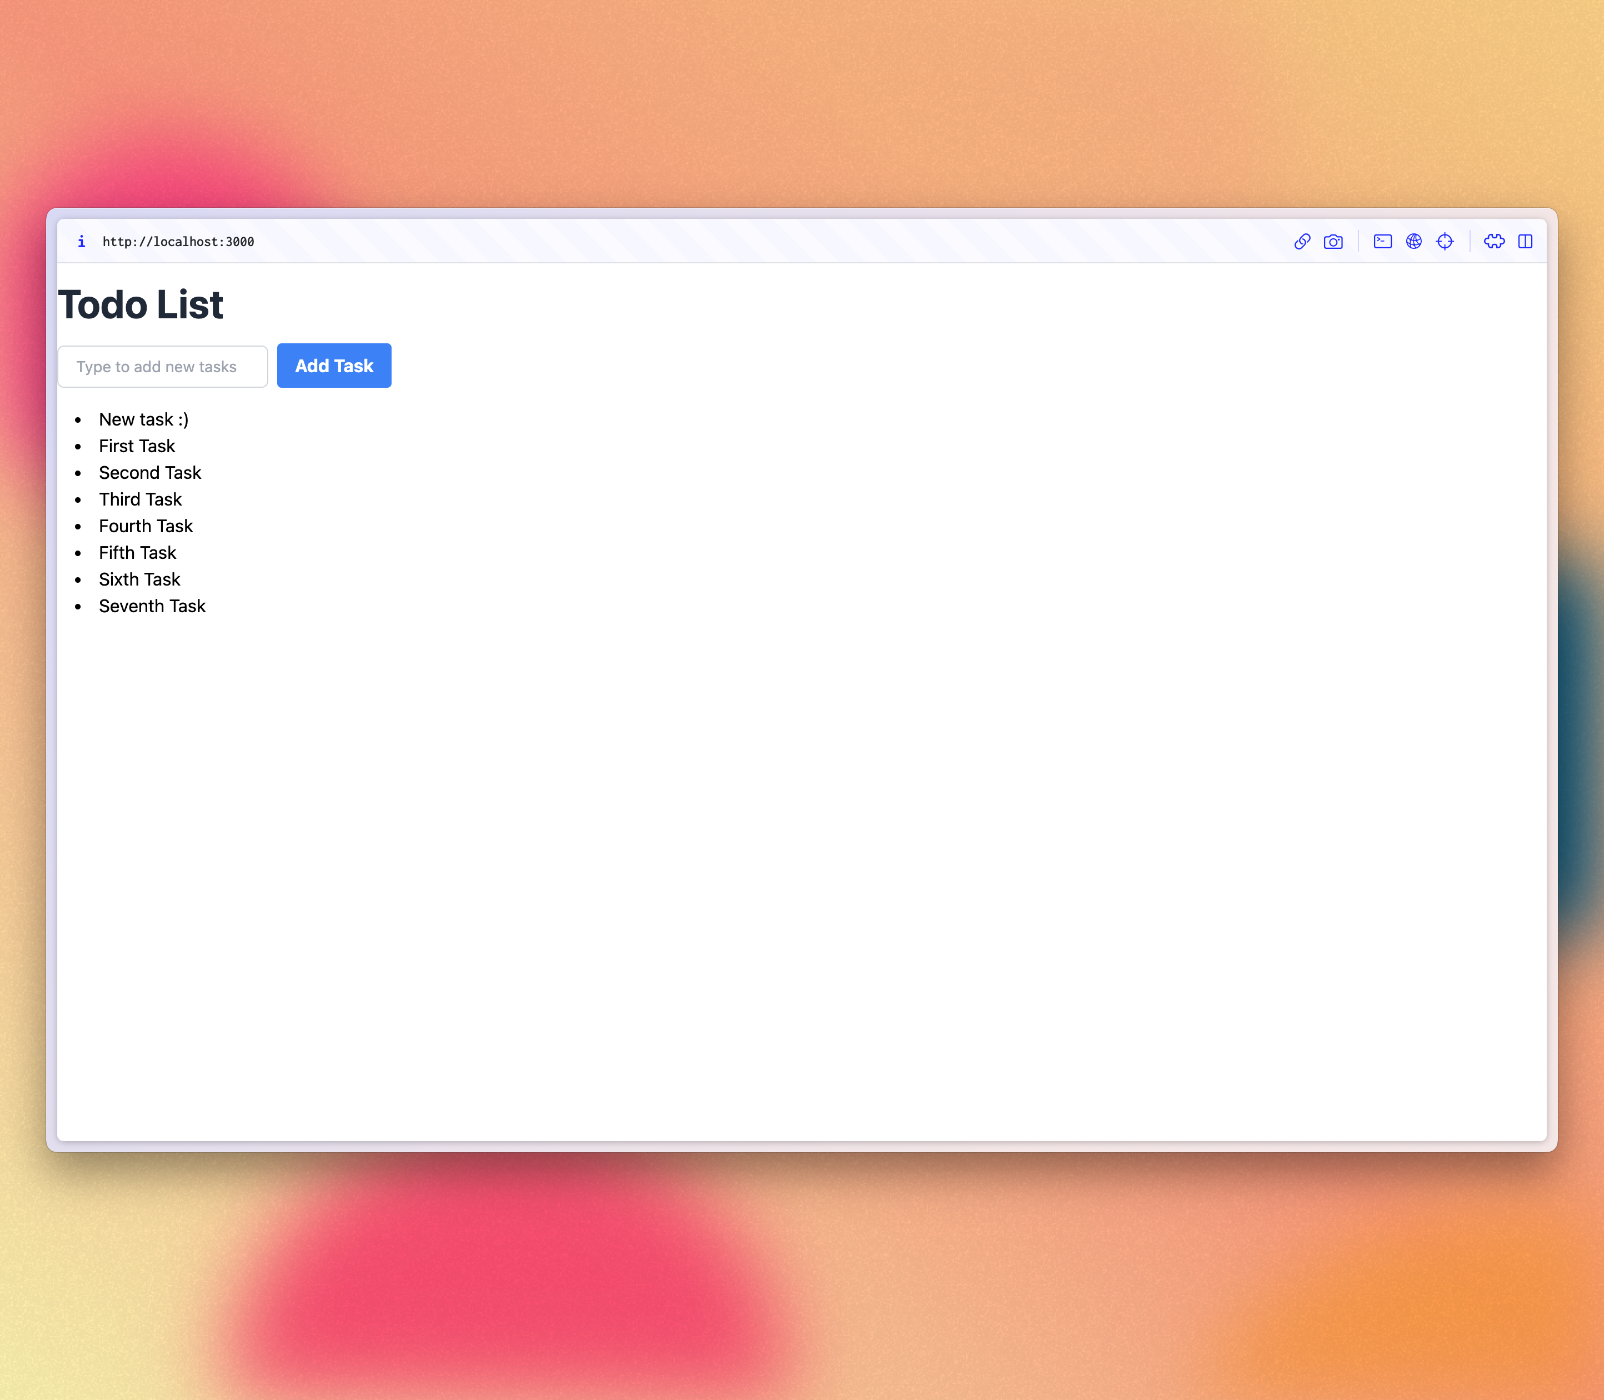
Your app should look like this:
Review: you can check how your code should be in the end of this step here
In the next step we are going to update your tasks state and provide a way for users to remove tasks.