5: Styles
5.1: Tailwind CSS
Our user interface up until this point has looked quite ugly. Let’s add some basic styling which will serve as the foundation for a more professional looking app.
Lets starting at App.vue:
imports/ui/App.vue
<template>
  <header class="flex items-center justify-between px-4 py-4 bg-gray-100 border-t border-b border-gray-200">
    <h1 class="text-4xl font-bold text-gray-800 my-4">Todo List</h1>
  </header>
  <div class="mx-auto max-w-2xl px-4 py-8 sm:px-6 lg:px-8">
    <div class="mb-8 md:w-96 md:mx-auto md:mb-0 md:mt-8 md:px-4 md:py-8 text-center md:bg-gray-100 md:rounded-lg">
      <TaskForm />
      <ul class="list-none list-inside pt-4 md:w-96">
        <Task v-for="task of tasks" :key="task._id" :task="task" />
      </ul>
    </div>
  </div>
</template>
If you want to learn more about this stylesheet check this article about Flexbox, and also this free video tutorial about it from Wes Bos.
Flexbox is an excellent tool to distribute and align elements in your UI. Also check this article about Tailwind CSS, the CSS framework we are using in this tutorial.
We’ll also update the TaskForm.vue component:
imports/ui/components/TaskForm.vue
<template>
    <form @submit.prevent="addTask">
        <input
            v-model="newTask"
            class=" border border-gray-300 rounded-md py-2 px-4 mr-2 text-gray-600 text-sm focus:outline-none focus:border-gray-400 focus:ring-0"
            type="text" placeholder="Type to add new tasks" />
        <button class="bg-blue-500 hover:bg-blue-600 text-white font-bold py-1.5 px-4 rounded" type="submit">Add
            Task</button>
    </form>
</template>
..
And, Task.vue:
imports/ui/components/Task.vue
<template>
  <div class="flex items-center rounded p-4 py-2 mb-2
    shadow-sm border border-gray-200 md:mr-8
  ">
    <li>
      <input v-model="taskRef.checked" type="checkbox" readonly :checked="taskRef.checked" />
    </li>
    <span class="text-gray-600 pl-2" :class="{ 'text-gray-400 italic line-through': taskRef.checked }">
      {{ task.text }}
    </span>
    <button class="ml-auto bg-red-500 hover:bg-red-600 text-white font-bold py-0.5 px-2 rounded" @click="deleteTask">
      x
    </button>
  </div>
</template>
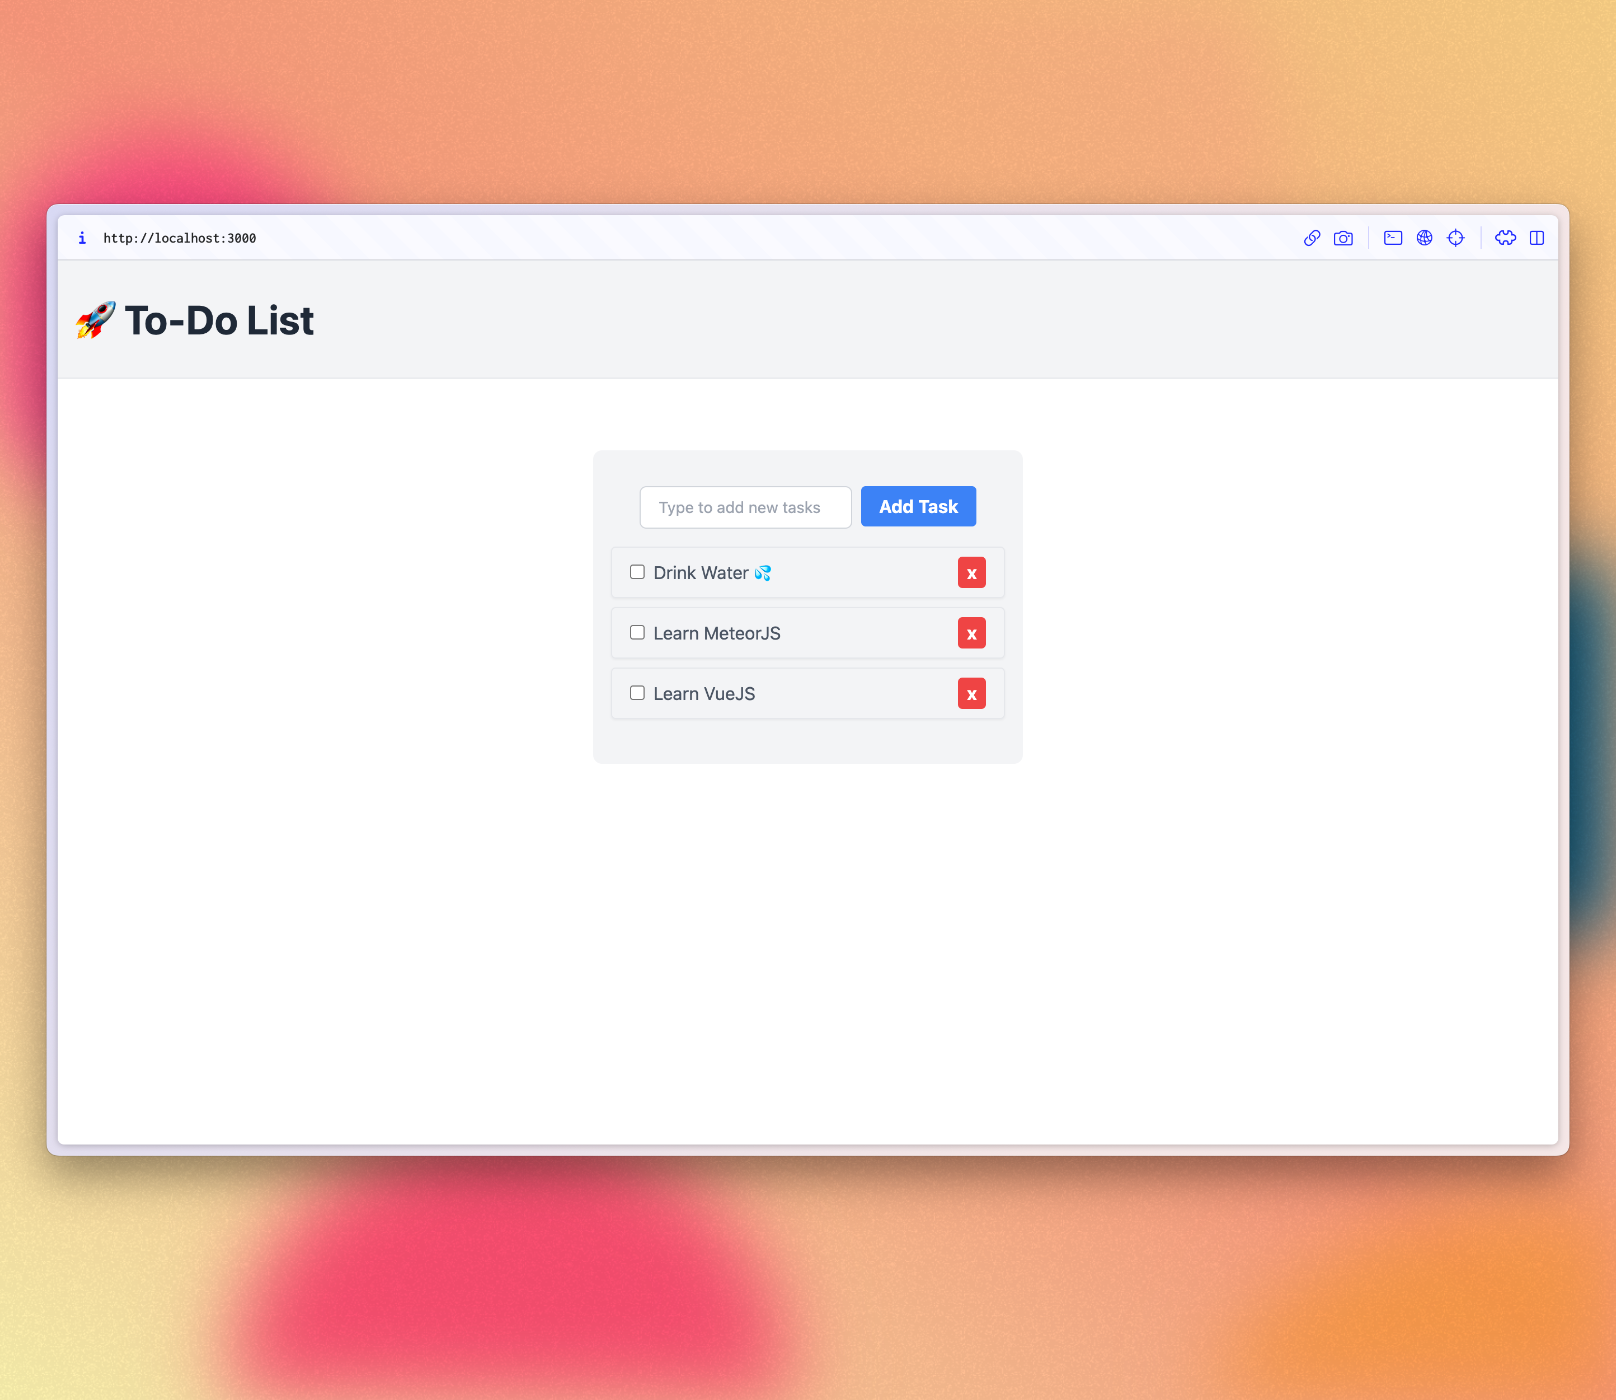
Also choose a better title for your app. You can write what you want. In this tutorial we will use “🚀 To-Do List”.
You could choose something like:
imports/ui/App.jsx
  ...

  <h1 class="text-4xl font-bold text-gray-800 my-4">🚀 To-Do List</h1>

  ...
Your app should look like this:

Review: you can check how your code should be in the end of this step here
In the next step we are going to make this task list more interactive, for example, providing a way to filter tasks.
